Getting Help
In our Help section for the Administrator you will find extensive explanations and help tools that are at your disposal.
Walk Throughs

- To Begin Click "?".
- Select Walkthroughs to see a selection of step by step instructions to help setup your account.
- Click on the Topic or feature you wish to setup and follow the onscreen instructions.
Contact Support

- To Begin Click "?".
- Select Contact Support.
- Select live chat to connect to one of support agents on chat.
- You can also Submit a Ticket, you can attach files and documents for requests like porting or troubleshooting.
- Click to View or Reply to Current and Closed tickets.
- For Telephone support simply dial any of the numbers shown.
Remote Support
If requested by our support team via a Ticket, live Chat or Telephone support please use link below to download the Anydesk file required for us to assist remotely.
- Windows: https://repo.ssl7.net/downloads/Level7QS.exe
- Mac: https://repo.ssl7.net/downloads/Level7QS.dmg
- Linux: https://repo.ssl7.net/downloads/Level7QS.tar.gz
Select the Operating system that you are using for example Windows to download the required file, once downloaded successfully just .
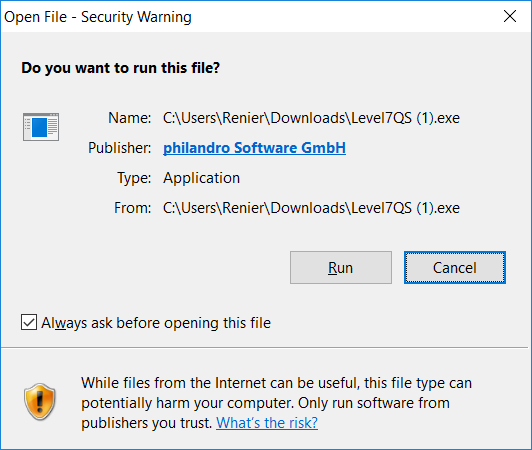
As soon as the download is complete just run the file.
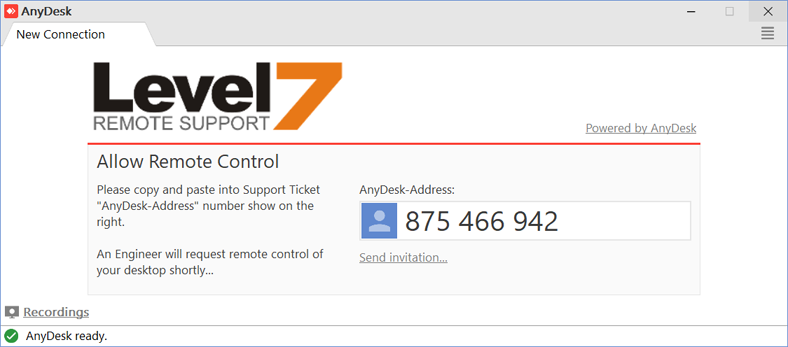
If support was via a Ticket please copy and past the unique ID generated by the support tool into the ticket and wait between 15 and 20 minutes for a member of support to join.
For live chat and Telephone support you can provide this ID to them directly.
Manual
To access VoIPstudio manual:
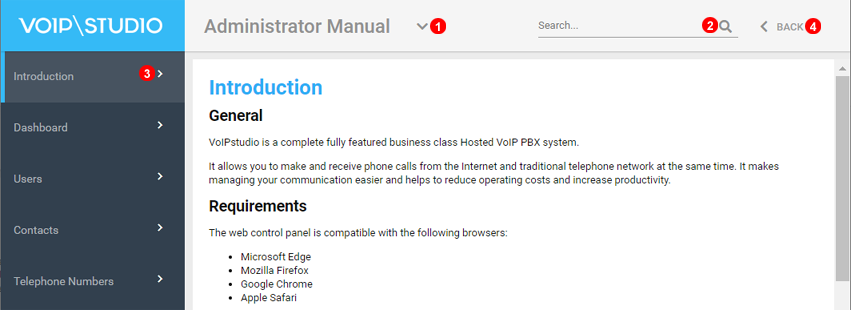
- Switch between manual sections using drop down shown as
(3)in Figure 92.5 above. - Search information using field shown as
(2)in Figure 92.5 above. - Use navigation on the left to browse chapters.
- Click
Backbutton shown as(6)in Figure 92.5 above to go back to VoIPstudio control panel.
Submit Ticket
To contact 24/7 VoIPstudio Technical Support:
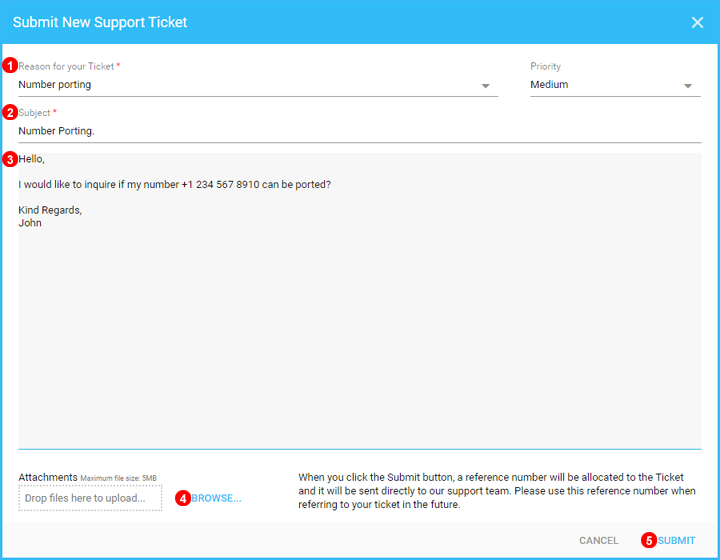
- Select reason for your ticket from drop down shown as
(3)in Figure 92.6 above. - Enter subject of your ticket.
- Enter details of your ticket providing as much details of your problem as possible.
- Option to attach a file, the file size can be no larger than 2Mb.
- Click
Submitto send the ticket.
When you submit a ticket a unique reference number will be allocated. Please use this reference number when referring to your ticket in the future. You will be notified by email when response is posted.
View current and closed tickets
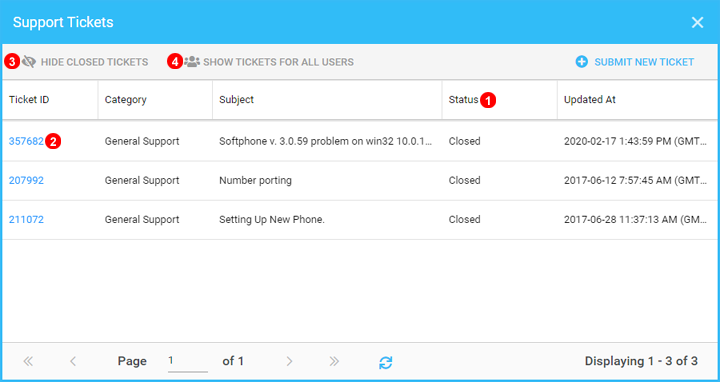
Under this section you can review tickets status and update them.
- Use status filter to select which ticket should be displayed.
- By default only the tickets generated by the current user are displayed. If you are an organization Admin you can click
Show tickets for all Usersto view the tickets of the entire organization. - Click here to submit a new ticket.
- Use the edit button on the ticket to access the details, or update it.
- By default closed tickets will not be shown. You can use
Show Closed Ticketsbutton to view them.
Reply to Ticket
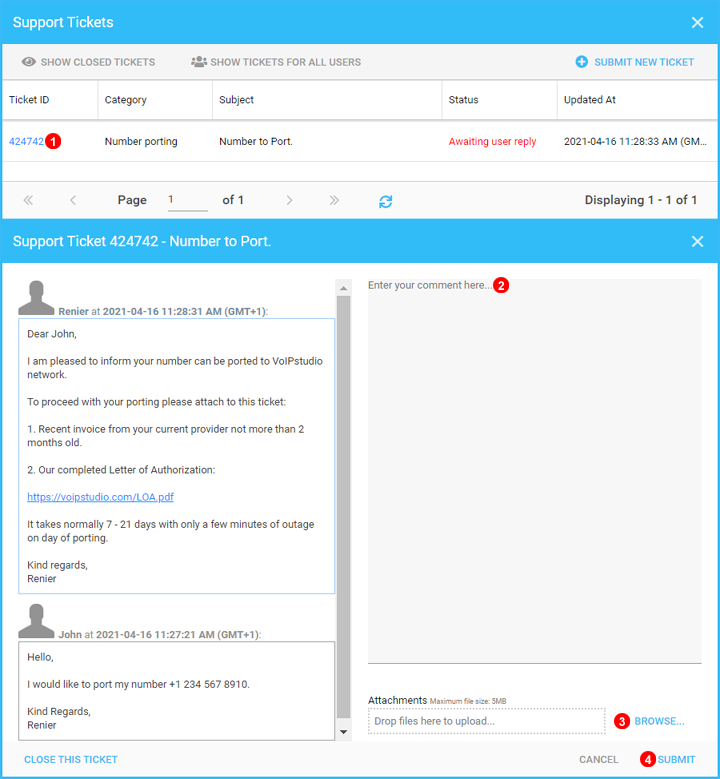
On the Support tickets
- Select the ticket you are going to update. Click icon shown as
(1)in Figure 92.8 above. - Enter your reply.
- Option to attach a file, the file size can be no larger than 2Mb.
- Click
Submitbutton.
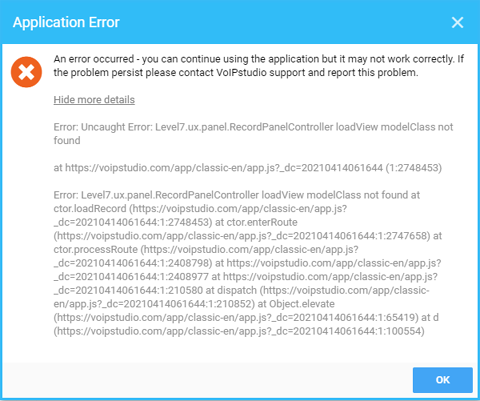
Troubleshooting
In some cases it will require more advanced methods to troubleshoot and gather data to resolve issue.
Below is an example of how an error message would look. Taking a screenshot and providing the steps to recreate the error to our support team can greatly assist in resolving any problems you might face.
Error Reporting
Sometimes errors can occur on our system this can at times be network or even application related and local data will be required to assist.
Below are some steps on how to gather data to send it to our team.
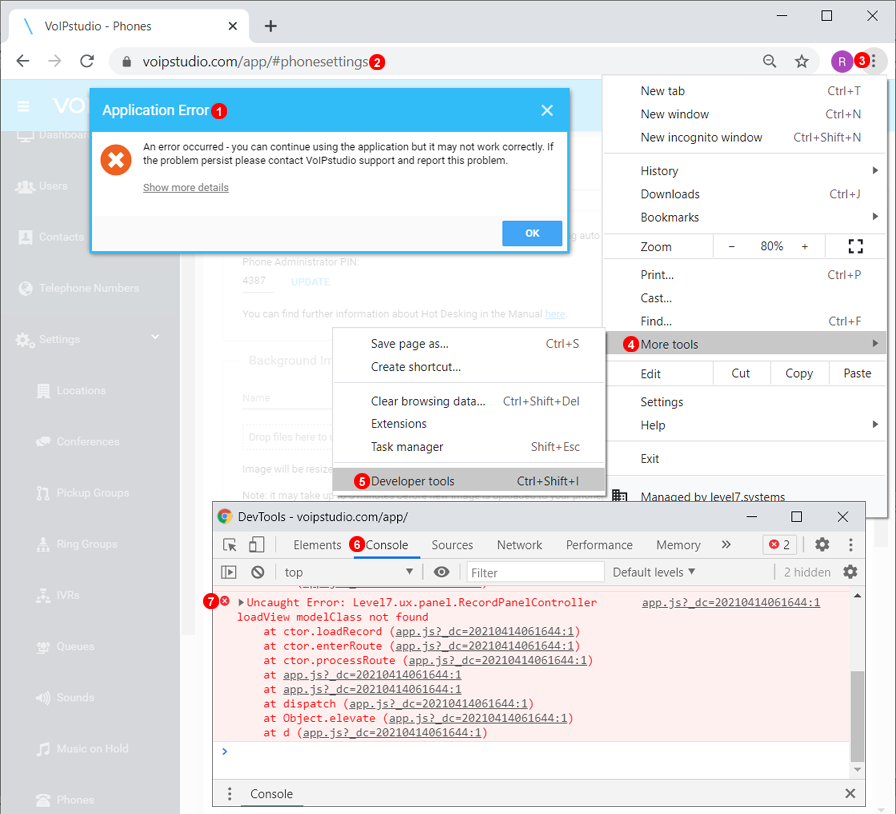
- When an error appears attempt to leave it open if possible.
- Remain on the page where the error appeared.
- Click the Settings menu on the Chrome Browser.
- Navigate Down to More Tools.
- Click Developer Tools, this will open a new window.
- Swap to Console Tab to view Error data.
- Try to have all of these Items in view and then take a screenshot to send over to our team.