Integrations - simPRO
In this chapter you will learn how to integrate simPRO with VoIPstudio.
VoIPStudio Credentials
To Complete the simPRO Integration you will require your user SIP Credentials below you can see how to access this.

Figure 74.1 Edit Users panel.
Here you can add users or view and edit their settings.
- Click to Edit User and change settings.
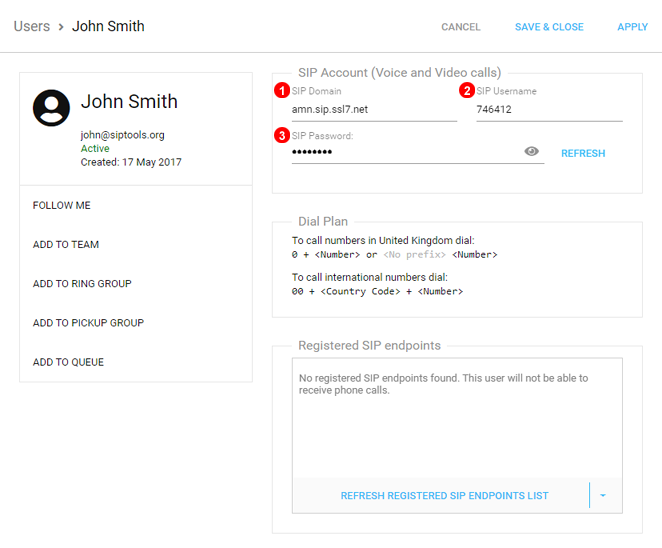
Figure 74.2 VoIPStudio SIP Credentials.
- SIP Domain used in Figure 10.5 Number 2
- SIP Username Used in Figure 10.6 Number 2
- SIP Password Used in Figure 10.6 Number 3
simPRO Enable VoIP Integration

Figure 74.3 Start Options.
- Hover cursor over System.
- Select Setup.
- Select Security Groups.
- Select the relevant security group for the user setting up the VoIP integration.
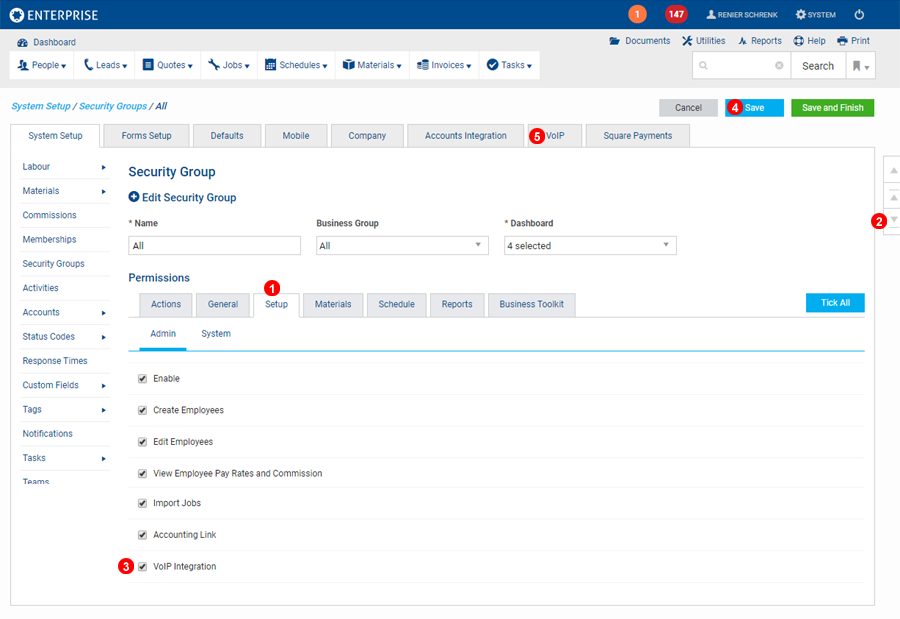
Figure 74.4 Enable VoIP.
- Select the Setup tab from Security Groups.
- Scroll down to the bottom of the page.
- Select the Tick Box for VoIP Integration to allow.
- Click Save to continue.
- Once save is complete select the VoIP Tab to proceed.
simPRO Configure VoIP Integration
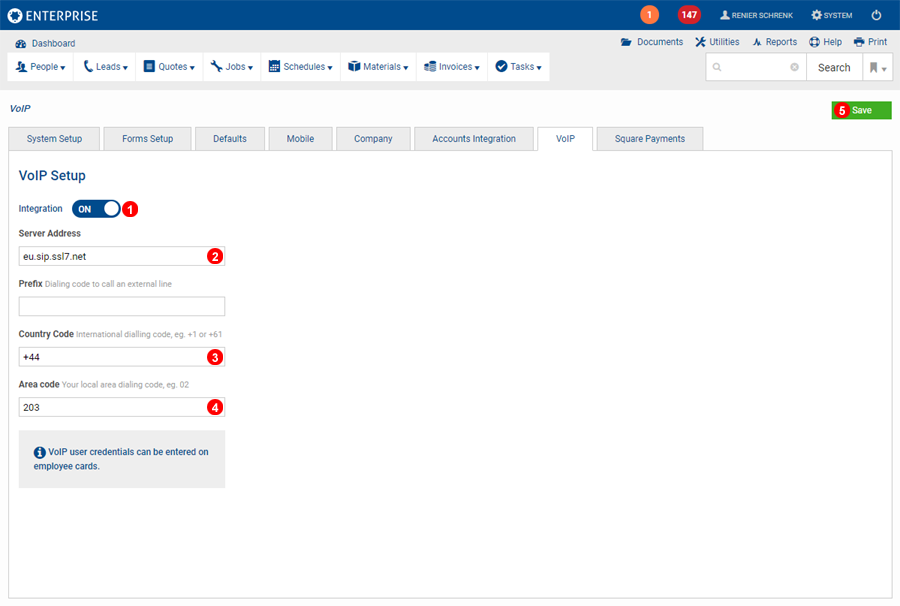
Figure 74.5 Configure VoIP.
- Use the Slide button to switch VoIP Integartion to On
- Enter the SIP Domain of your account as shown in Figure 10.2 Number (2) above.
- Enter the Country code you call to most often.
- Enter the area code you call most often, leaving this field blank requires the area code to be populated on all card files.
- Click Save to continue.
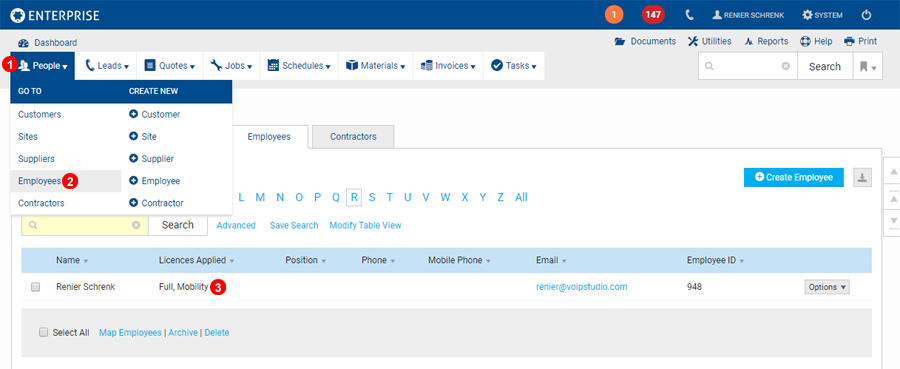
Figure 74.6 Navigate to Employees.
- Hover over People in the top left.
- Select Employees.
- Click on the User you wish to configure for VoIP.
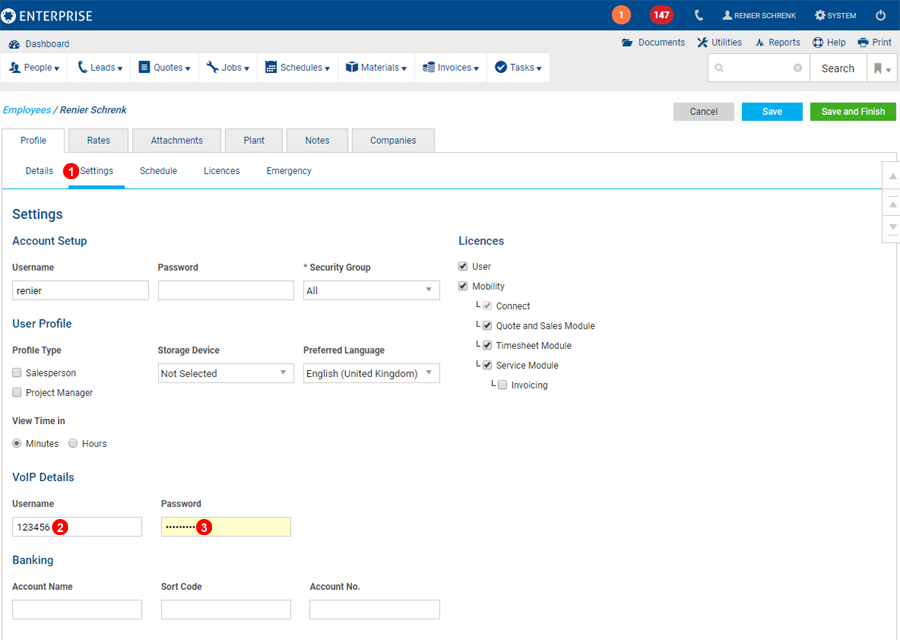
Figure 74.7 Configure User Details.
- Swap to Settings Tab of the Employee.
- Enter SIP Username as shown in Figure 10.2 Number (3)
- Enter SIP Password as shown in Figure 10.2 Number (4)